


Driveway Entrance Planning Before You Order Gates
- Mark C
- 6 days ago
- 6 min read
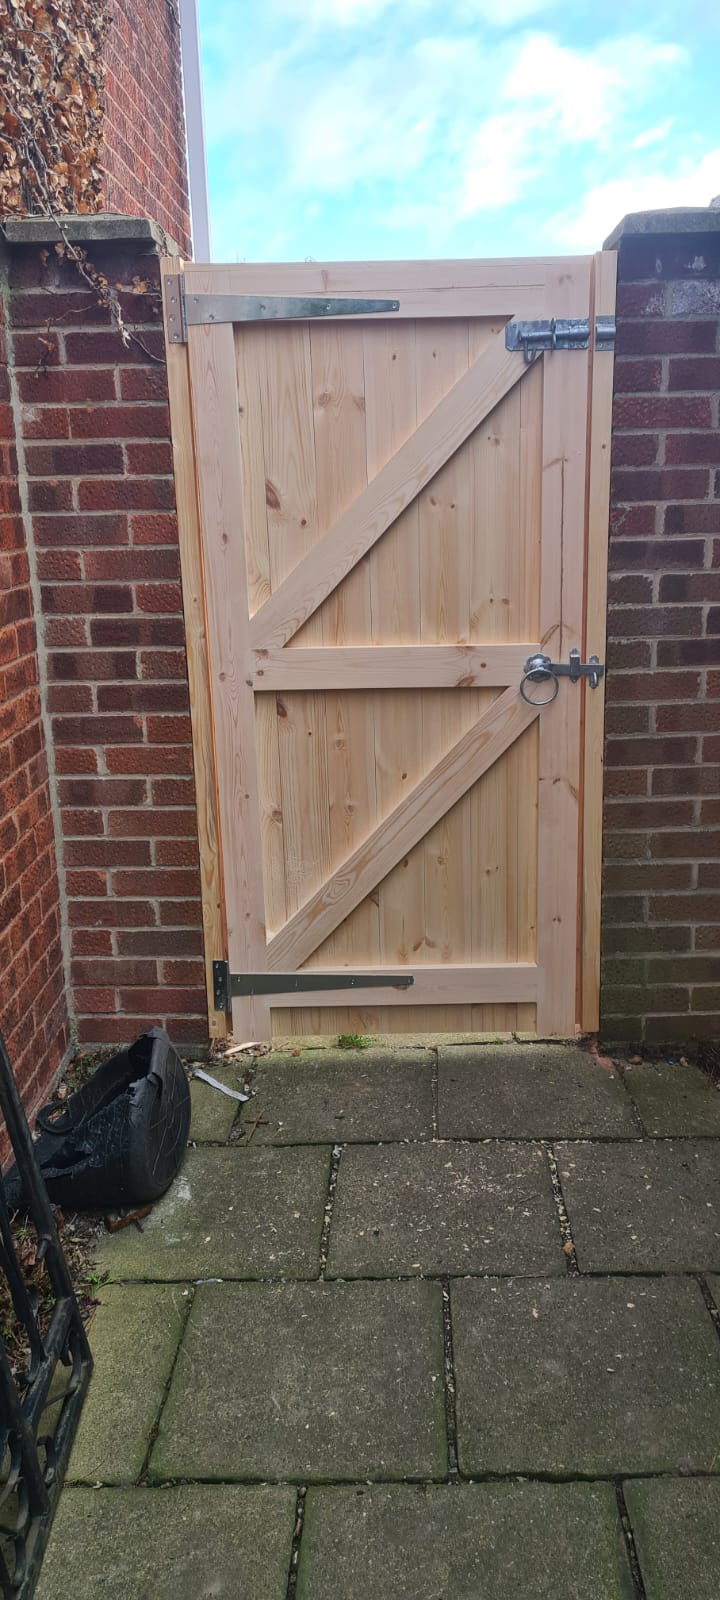
A new pair of driveway gates can transform the front of a property, but the gates are only one part of the job. Good driveway entrance planning starts with the space between the boundaries, the ground beneath it and the way vehicles actually use the entrance. Get those details right first and the finished entrance will look proportionate, operate properly and give years of reliable service.
For many properties, the difficult part is not choosing a gate design. It is working out what will fit, where it can swing and whether the existing posts, walls and driveway surface are ready to carry the weight. A made-to-measure gate gives far more flexibility than an off-the-shelf size, but accurate information at the planning stage is what makes that flexibility useful.
Start with the clear opening
The clear opening is the usable gap through which a vehicle passes once the gates are open. It is not simply the distance from one outer edge of a wall to the other. Measure between the inside faces of the gate posts, or between the surfaces where the posts will be fixed.
Take the measurement at ground level, halfway up and near the top. Old brick piers, timber posts and driveways are not always perfectly square. If the opening varies, work from the narrowest measurement and explain the variation when requesting a quote. This avoids a gate being made to a dimension that only exists at one point.
Think about the vehicles that need to pass through. A small family car needs less room than a wide SUV, van or vehicle towing a trailer. A narrow entrance may be acceptable where cars approach straight on, but it becomes awkward if the drive meets the road at an angle. Allow for mirrors, turning space and the occasional delivery vehicle rather than measuring only against the car parked there today.
Driveway entrance planning around gate movement
Most timber driveway gates are designed as a pair, with each leaf opening into the property. This is usually the safest arrangement, as a gate should not swing out over a pavement or highway. Before choosing a style or height, mark the likely arc of each leaf on the ground using string, chalk or a length of timber.
Check for slopes, gravel ridges, raised drainage channels, parked cars and planting beds. A gate that looks as though it has plenty of room on a flat drawing can catch the ground once it is hung. Gates can sometimes be hung with extra clearance, but too much space beneath them can reduce privacy and spoil the appearance. A sloping drive may need a different hanging arrangement, a regraded entrance or gates that open away from the rising ground.
Also consider the space behind each open gate. The leaves should be able to open far enough to give a comfortable entry, ideally without resting against a hedge, fence or wall. If there is not enough room for full-opening swing gates, a sliding gate may be worth considering, although it needs clear run-back space and a properly prepared track or cantilever system.
Choose posts and piers that can do the job
A substantial driveway gate places a constant load on its hinges and posts. This is why sound support matters as much as the timber gate itself. Existing brick piers can be suitable, but only if they are stable, upright and built on adequate foundations. Cracked mortar, movement at the base or loose capping stones are warning signs that should be dealt with before installation.
Timber gate posts need to be correctly sized for the width and weight of the gates, set plumb and secured in firm concrete footings. The required depth depends on ground conditions, post section and gate size, but shallow posts are a common cause of sagging gates. The post is a structural part of the entrance, not just a fixing point for hinges.
Where a wide opening has no existing piers, posts often give the cleanest and most cost-effective solution. They also allow the whole entrance to be planned as one design, with gate width, post size, hinges and latches selected to work together. For a more formal frontage, masonry piers can provide a traditional look, but their cost and groundworks should be included early in the budget.
Measure more than width and height
A useful quote begins with clear measurements, but photographs are equally helpful. Take pictures looking straight at the entrance, from inside the drive looking out, and from both sides of the posts or piers. Include any slope, wall return, drainage cover or obstacle close to the opening.
Alongside the clear width, note the proposed gate height, the available hinge side depth and the distance from the gate line to any obstruction behind it. If gates are to be fixed to brickwork, establish whether there is enough solid masonry for hinge plates and whether the wall is in good condition. If you intend to use timber posts, record the desired overall width including the posts.
Do not assume a pair of gates is split equally. Equal leaves suit many entrances and give a balanced appearance, but unequal leaves can be practical where one side is used more often for pedestrians or where an obstacle affects one side of the opening. The right answer depends on daily use as well as symmetry.
Select a design for privacy, wind and character
The gate design should suit the property, but it must also suit the location. A solid boarded gate provides privacy and a strong boundary, particularly for homes close to the road. However, solid gates catch more wind than open-bar designs. On an exposed site, this adds force to hinges, posts and automation equipment.
Open or partly open designs allow air through and can make a narrow frontage feel less enclosed. They are often a sensible choice where a drive is windy or where sight lines are useful when leaving the property. A curved top can soften the look of a traditional home, while a flat-top design may sit better against clean, modern boundary lines. The best style is one that looks right from the road without asking the structure to do more than it should.
At M & D Woodcraft, made-to-order gates are built using engineered timber, mortice and tenon joinery, exterior-grade D4 glue and hardwood dowels. This kind of construction is intended to provide greater stability than ordinary pressure-treated softwood, but even a well-made gate needs suitable posts, sensible clearances and proper fitting to perform at its best.
Plan hinges, latches and access early
Ironmongery should not be an afterthought. The hinge type must suit the gate weight, post arrangement and opening direction. Adjustable fittings can be useful because timber and ground conditions may settle slightly after installation, allowing the gates to be brought back into alignment without major alteration.
Decide how the entrance will be used when arriving on foot. A separate pedestrian gate is often more convenient than opening a large driveway gate for every delivery, school run or dog walk. It can also reduce wear on the main gates. If a pedestrian opening is not possible, consider how a latch, drop bolt and gate stop will be reached safely from both sides.
For double gates, a centre stop and reliable drop bolts help keep the leaves aligned when closed. They are particularly worthwhile on exposed sites, where wind can work against an unsecured leaf. Choose fittings with durability in mind and make sure they are compatible with the timber thickness and post size.
Allow for automation and services
Automated gates need more preparation than manually operated ones. Motors, safety devices, underground cables and controls all need space and protection. If automation may be added later, mention it before the gates are made. The gate structure, hinge arrangement and clearance requirements may differ from a purely manual installation.
A qualified installer should assess the electrical supply, safety requirements and ground conditions. Vehicle gates can cause serious injury if they are incorrectly specified or fitted, so safety edges, photocells and manual release arrangements are not optional details. Avoid placing control boxes or keypads where they force a driver to stop in the road or reach across an awkward boundary.
Prepare the ground and finish for the long term
The entrance surface should drain away from the posts and gate line where possible. Standing water shortens the life of timber, damages coatings and can loosen ground around posts over time. Before fitting, repair broken edging, sort out drainage issues and make sure gravel or paving will not interfere with the gate swing.
Timber gates benefit from a proper finishing routine. Apply the recommended primer, paint system or oil as appropriate, paying particular attention to end grain, joints and any areas cut or drilled during installation. Inspect the finish regularly and deal with scratches or wear before moisture gets into the timber. A few small maintenance jobs done at the right time are far easier than restoring a neglected gate several years later.
A well-planned entrance does not need to be overcomplicated. Measure carefully, be honest about slopes and access, and choose supports and fittings that match the gate. That groundwork gives a handmade timber gate the chance to become the dependable, welcoming feature your property deserves.


Comments