


How to Install Gate Posts Properly
- Mark C
- Jul 1
- 6 min read
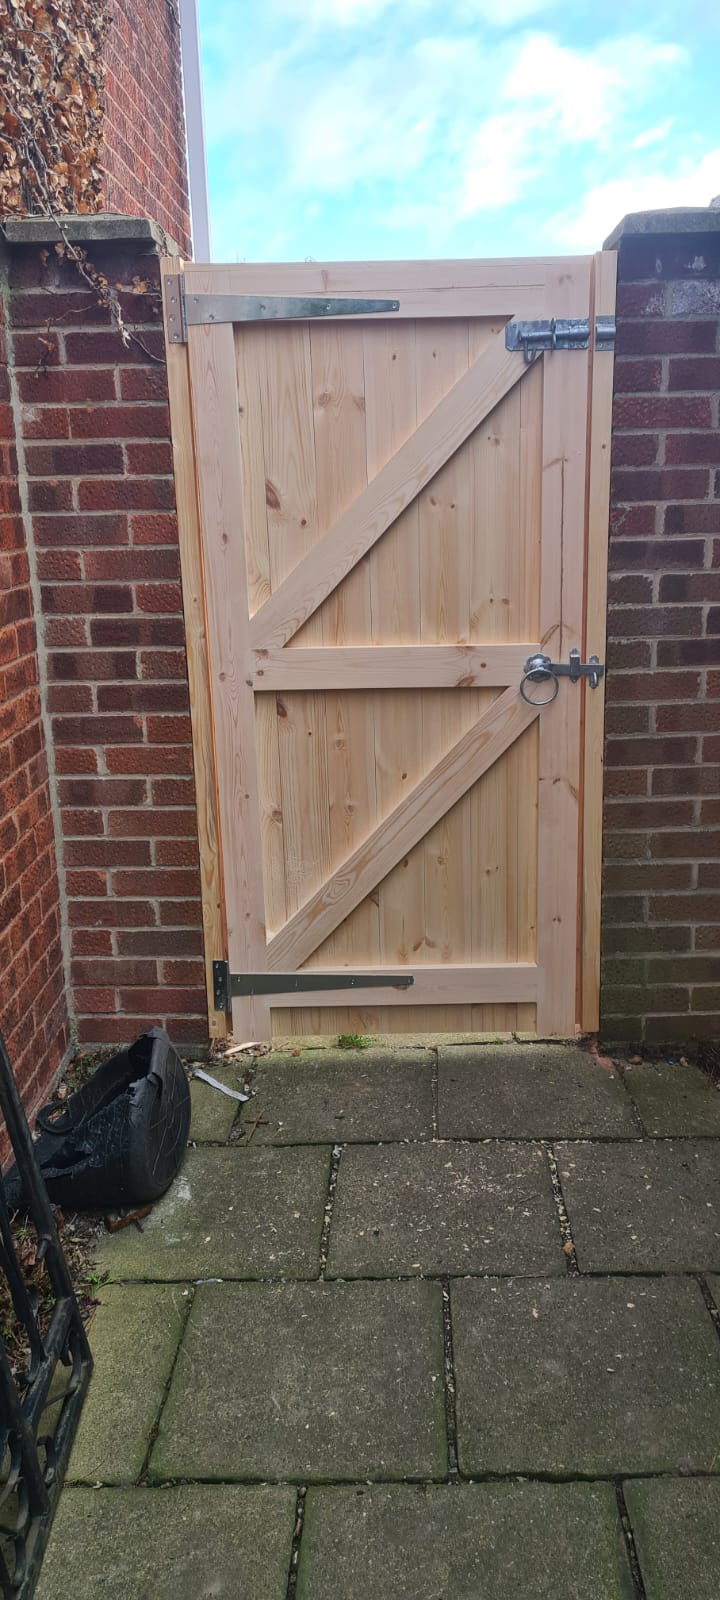
A gate is only as good as the posts holding it. We see plenty of well-made wooden gates let down by weak, shallow or poorly aligned posts, and once that happens the gate starts to drop, bind or twist long before it should. If you are looking up how to install gate posts, the real job is not simply digging two holes and pouring in concrete. It is setting a solid foundation that keeps the gate working properly year after year.
For most homeowners, the main challenge is getting the posts deep enough, straight enough and square enough before the concrete goes off. That sounds simple on paper, but gate posts carry weight, resist movement and take constant strain from opening, closing and weather exposure. A small mistake at ground level can turn into a large problem at the hinge side within a season.
Before you install gate posts
The first thing to decide is whether your posts are suitable for the size and weight of the gate. A light garden gate places far less strain on a post than a pair of driveway gates. The wider and heavier the gate, the more important post section, embedment depth and ground conditions become. If the post is undersized, no amount of careful fitting will make up for it.
You also need to think about what sits below the surface. Firm, well-draining ground is more forgiving than soft or waterlogged soil. Clay can move with moisture levels, while made-up ground or loose fill may need extra depth or a larger concrete footing. If you are fitting close to a drive entrance, check for buried services before digging.
Take your measurements from the actual gate and the ironmongery you plan to use, not from guesswork. Hinge type, hook-and-band fittings and latch clearance all affect the final gap. Timber gates also need sensible allowance for movement and for ground clearance, particularly on sloping drives or uneven garden paths.
Tools and materials you will need
Most installations call for a spade or post hole digger, spirit level, tape measure, string line, timber battens for bracing, gravel or hardcore for drainage, and a suitable post mix or concrete. You will also want clamps or a second pair of hands when the time comes to check spacing.
For timber posts, many homeowners choose softwood, but quality matters. A well-made gate deserves a properly sized post with sound timber, straight grain and good treatment or finishing. If appearance matters as much as strength, matching the post to the gate style makes a real difference.
Setting out the opening
Accurate setting out saves trouble later. Mark the full opening width first, then work back from the gate size, including hinge allowance and the clearance gap on the latch side. For a single gate, that is straightforward. For a pair of gates, you also need to allow for the centre gap and any drop bolts or threshold detail.
Run a string line so both posts sit in line with one another. This is especially important on driveways, where even a slight twist can be obvious from the road. Check where the gate will swing and make sure there is enough clearance from walls, fences, gravel build-up and rising ground.
If the entrance slopes, decide early whether the gate will follow the fall, open inwards on a level, or need extra clearance beneath. That choice affects post height, hinge position and overall appearance.
How to install gate posts step by step
Start by digging the first hole wider than the post, with enough room to adjust and concrete around it properly. As a rule, a gate post should go much deeper than a fence post. Many installers work to around one third of the post length below ground, but heavy gates or poorer ground often justify more. Depth matters because the hinge post in particular is under constant leverage.
Put a layer of compacted gravel or hardcore in the base to help drainage and give the post a firmer seat. This is a sensible detail, especially in British weather where standing water around timber never does it any favours.
Set the first post in place and brace it loosely. Use a spirit level on two adjacent faces to plumb it, then check the height. If one post carries hinges and the other takes the latch, make sure both finished heights suit the gate design and ironmongery. Once you are satisfied, pour or shovel in concrete around the post, compacting it as you go so there are no voids.
Before the mix stiffens, check the post again for plumb and for position against your string line. Then brace it firmly. Do not rush on to hanging the gate. Let the post gain proper strength first.
The second post is where accuracy really counts. Measure the opening carefully from the first post, allowing for the exact width of the gate and fittings. For pairs, use the total width plus the centre clearance. Set the second post, level and brace it, then check the spacing at both the top and bottom to confirm the posts are parallel rather than just roughly in place.
Concrete the second post in the same way and recheck everything before leaving it to cure. A post can move slightly as the concrete settles, so this is the stage where patience pays off.
Concrete, drainage and post longevity
People often ask whether gate posts should be set directly in concrete. In most domestic installations, yes, but the detail matters. A good footing supports the load, yet concrete alone does not solve every problem. Water management is just as important.
If moisture sits around the base of a timber post, it will shorten its working life. That is why a free-draining base and a slightly raised or sloped concrete finish around the top of the hole are worthwhile. The aim is to shed water away from the timber rather than letting it pool beside it.
Some installers prefer to sleeve or protect the below-ground portion of the post. That can help, but it is not a substitute for proper installation. Sound timber, sensible drainage and the right depth remain the essentials.
Common mistakes when installing gate posts
The most common error is not going deep enough. A shallow post may look firm on the day, then start moving once the gate is hung and used regularly. The hinge post suffers first, because every opening cycle pulls against it.
Another mistake is using posts that are too light for the gate. This often happens when homeowners match a driveway gate to ordinary fencing posts. A gate post is a structural support, not just a boundary marker.
Poor spacing is another regular issue. If the opening is too tight, the gate can bind once timber moves with the weather. Too wide, and the gaps look untidy or the latch does not line up properly. Measuring from actual hardware, not rough estimates, avoids that.
Then there is the temptation to hang the gate too soon. Concrete may seem firm after a short while, but gate weight and movement can pull a post out of line before the footing has cured properly.
Timber movement and ongoing adjustment
Wood is a natural material, and that is part of its appeal. It also means gates can respond to seasonal changes in moisture and temperature. A well-built engineered timber gate is generally more stable than basic pressure-treated joinery timber, but posts and gates still need sensible fitting tolerances.
Leave enough clearance for normal movement without making the gate look badly fitted. Hinges should allow for adjustment, and all ironmongery should be fixed securely into sound timber. Once the gate is hung, test it through its full swing and check that latches, drop bolts and stops all work without strain.
After installation, keep an eye on the gate during the first few weeks. Minor hinge adjustment is not unusual as everything settles, particularly on new ground or in changeable weather.
When to get advice before you begin
Not every entrance is straightforward. Wider driveway gates, rising ground, brick piers, exposed coastal sites and soft ground all bring extra considerations. If the gate is bespoke or unusually heavy, it is worth getting advice on post size and fixing method before you start. That is far easier than trying to correct leaning posts afterwards.
At M & D Woodcraft Ltd, we always take the view that a handmade gate should be supported properly. Good joinery and engineered timber count for a great deal, but installation still decides how well the whole entrance performs over time.
Take your time with the posts, because they do the hard work long after the gate has been fitted. Get them deep, straight and well supported, and the gate has every chance of looking right and working as it should for years to come.


Comments