


How to Fit Wooden Driveway Gates Properly
- Mark C
- 2 days ago
- 6 min read
A pair of driveway gates can look badly made when the real problem is poor fitting. Gates that drop, bind on the ground or refuse to meet neatly in the middle are usually suffering from inaccurate posts, weak fixings or the wrong clearances. If you are researching how to fit wooden driveway gates, getting the groundwork right matters far more than rushing to hang them.
Well-made timber gates are only as good as the opening they are fitted into. Even a strong gate built with proper joinery will struggle if the posts are out of plumb, the hinges are undersized or the fall of the drive has not been thought through. The job is perfectly manageable for a competent DIYer, but it does reward patience, careful measuring and a realistic view of the gate weight.
Before you fit wooden driveway gates
Start by checking the opening width in at least three places - top, middle and bottom. Brick piers and existing posts are not always as straight as they appear, and a small difference can cause trouble once the gates are hung. Measure the height from the drive surface to the desired top of gate as well, especially if the ground rises through the opening.
You also need to decide whether the gates will open inwards or outwards. In most residential settings, inward opening is preferred, but that depends on the space available behind the gates and whether the driveway slopes up from the road. If the ground rises sharply, a standard five-bar or boarded gate may catch unless you allow enough clearance beneath it or use rising hinges where suitable.
Weight is another key point. Proper wooden driveway gates are not lightweight garden items. A well-built pair in engineered timber with mortice and tenon joints will be far more stable than budget softwood gates, but they also need posts, hinges and latches to match. Underspecifying ironmongery is one of the quickest ways to shorten the life of the installation.
What you need for the job
Most installations will require substantial gate posts or sound existing piers, adjustable hook and band hinges, suitable fixings, a latch or lock, a drop bolt for the closing leaf and concrete for setting posts. You will also need a spirit level, tape measure, clamps, packers, a drill, spanners and something solid to support the gates while positioning them.
If the gates are supplied finished, take care not to damage the coating during fitting. If they are supplied bare or primed, it is wise to seal or finish them properly, including the bottom edges and any cut or drilled areas, as part of the installation process. Timber lasts best when moisture is kept out from the start.
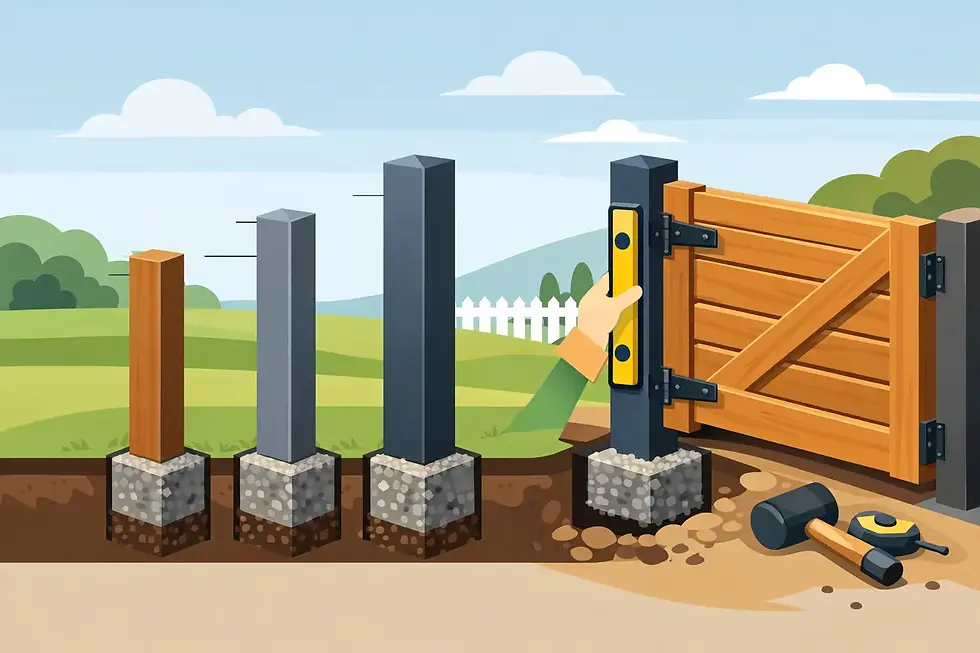
Setting the posts is the real job
If you are fitting to new timber posts, spend most of your effort here. The posts must be deep enough in the ground, properly concreted and perfectly plumb. For heavy driveway gates, a shallow post hole is false economy. The exact depth depends on the post section, gate size and ground conditions, but stability matters more than speed.
Allow enough room between the posts for the full gate width plus hinge clearance, working clearance and the centre gap where the gates meet. This is where many people go wrong. They measure the gates accurately but forget the space needed for hinge knuckles, swelling in wet weather and a neat closing line. Timber is a natural material, so a gate that is fitted too tightly in dry conditions can start rubbing once the weather turns.
Check the diagonal measurements across the opening after the posts are in place. If those measurements are out, the opening is not square, and the gates will tell on you straight away.
How to fit wooden driveway gates step by step
Before lifting anything into place, decide which leaf will open first and which will be the closing leaf. On a pair of gates, the closing leaf usually carries the drop bolt so it can secure into the ground, while the other leaf closes against it.
Offer the first gate up to the post using blocks or packers underneath to create the correct ground clearance. This clearance depends on the driveway surface and whether it is level, gravelled or sloping. Too little gap and the gate will catch. Too much and the installation can look mean and unfinished. On an uneven drive, it is often worth checking the gate swing fully before fixing any hardware permanently.
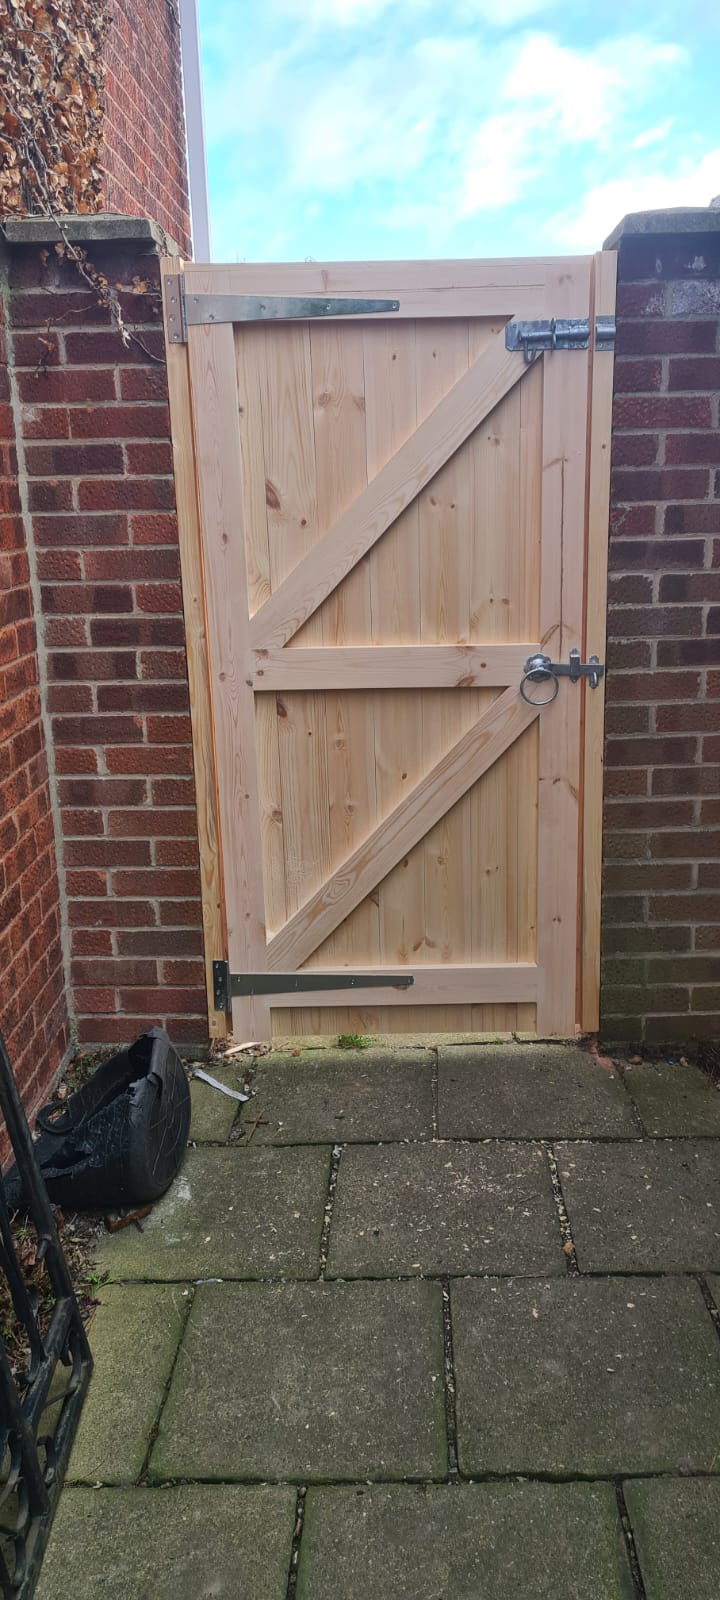
Mark the hinge positions carefully. Hook and band hinges are commonly used because they spread the load well across a timber gate. As a rule, place one hinge near the top rail and the other near the bottom rail to reduce strain and help resist dropping. For taller or heavier gates, a third hinge may be sensible.
Fix the hinge bands to the gate first if required, then attach or align the hooks on the post. Adjustable hinges are especially helpful because they allow fine tuning once the gate is hanging. This can save a lot of frustration later. Lift the gate into place, seat it onto the hooks and check for level, plumb and smooth swing.
Repeat the process with the second gate, making sure the meeting stile gap is even from top to bottom. It is easy to focus on the hinge side and forget the centre line, but that middle joint is what your eye notices first.
Getting the spacing right
The best-looking gates usually have consistent, sensible gaps rather than the tightest possible fit. You need clearance at the hinge side, at the meeting point and beneath the gates. The exact gap varies with gate design and hardware, but the principle stays the same - enough room for movement, not so much that the installation looks careless.
If the gates are ledged and braced or framed and boarded, check that the lowest parts will still clear the drive once loaded on their hinges. A gate can sit slightly differently when fully released than it does while you are holding it in place.
Fitting the latch and drop bolt
Once both leaves are hanging properly, fit the latch, lock or centre stop arrangement. The drop bolt should be fitted to the closing leaf and should line up cleanly with its receiver in the ground. If the drive is block paved or concreted, plan this detail before drilling. If the receiver is awkwardly placed or too shallow, the bolt soon becomes an irritation rather than a security feature.
Fit a centre stop where needed so the gates close against something solid rather than relying solely on the latch. This helps keep alignment tidy over time and reduces strain on the hardware.
Common problems when fitting wooden driveway gates
The most common issue is gate drop. This usually comes from posts that move, hinges that are too light or fixings that have not bitten properly into solid timber or masonry. Adjustable hinges can correct minor movement, but they are not a cure for weak installation.
Another problem is ignoring the driveway fall. A gate that looks fine when shut may scrape badly halfway through its opening arc. Always test the full swing before final tightening.
Then there is timber movement. Good quality engineered timber is chosen for better stability than basic pressure-treated timber, but all wood responds to the weather to some degree. That is why sensible fitting tolerances and proper finishing matter.
A word on gate quality and longevity
If you are investing the time to fit gates yourself, it makes sense to start with gates built to last. Strong mortice and tenon construction, exterior-grade glue, proper dowelled joinery and stable engineered timber all make a difference once the gates are exposed to British weather year after year. Cheap gates often look acceptable on delivery and disappoint later, usually at the joints.
That is also why posts and ironmongery should never be treated as afterthoughts. A carefully made gate deserves hardware that can carry its weight and keep it aligned.
Should you fit them yourself or call in help?
That depends on the size of the gates, the opening and your confidence with setting posts accurately. A straightforward pair on level ground with good access is one thing. Heavy made-to-measure driveway gates on a sloping entrance with brick piers are another.
There is no shame in getting assistance for the lifting alone. Wooden driveway gates are awkward to manoeuvre, and trying to hang them single-handed often leads to damaged timber, bent hardware or an unsafe lift. If the gates are bespoke, you will want the fitting to do them justice.
At M & D Woodcraft Ltd, we know from long workshop experience that a proper installation makes all the difference. A well-built gate should feel solid, swing freely and close cleanly without forcing.
Take your time with the posts, allow realistic clearances and do not cut corners on hinges or fixings. When the fitting is right, wooden driveway gates do what they should - they secure the entrance, suit the house and keep their shape for years rather than months.


Comments