


How to Fit a Stair Gate Safely in Your Home
- Mark C
- Jul 31
- 5 min read
A stair gate only does its job if it is fixed to something solid. A gate that looks level but pulls loose from plasterboard, flexes against a banister or leaves a gap at the side can create more risk than reassurance. Knowing how to fit a stair gate properly means taking a little time to assess the opening before reaching for the drill.
For families, the aim is simple: a dependable barrier that suits the staircase, is comfortable for adults to use and stands up to daily use. The fitting method will depend on whether the gate is going at the top or bottom of the stairs, the type of wall or newel post available, and whether the opening is a standard size or needs a made-to-measure solution.
Choose the right place before fitting a stair gate
The top and bottom of a staircase have different requirements. At the top, a gate should be fixed securely and open away from the stairs, towards the landing. This helps prevent the gate from opening out over the stair flight, where somebody could lose their footing.
At the bottom, there is often more choice. You may fit the gate between a wall and a newel post, or between two solid posts. Consider the direction of travel through the hall as well as the position of doors, radiators and skirting boards. The gate should not create an awkward obstruction when open.
Measure the narrowest part of the opening, not simply the distance between the widest points. Skirting boards, handrails and uneven walls can all reduce the usable width. Measure at the top, middle and bottom, then work to the smallest measurement. If those measurements differ noticeably, a standard adjustable gate may not sit squarely, and a bespoke wooden stair gate can provide a neater, stronger fit.
Decide between pressure fitting and screw fixing
Pressure-fitted gates are quick to put in place and can be useful in suitable openings at the bottom of a staircase. They work by tightening against two opposite surfaces, so they do not normally require holes in the wall. However, they rely on firm, even surfaces and must be checked regularly as everyday knocks can affect their tension.
For the top of stairs, a screw-fixed gate is the safer choice. The hinges and latch brackets are fixed directly to sound timber, masonry or another properly prepared fixing point. This gives a more secure installation and avoids the threshold bar that many pressure gates have at floor level.
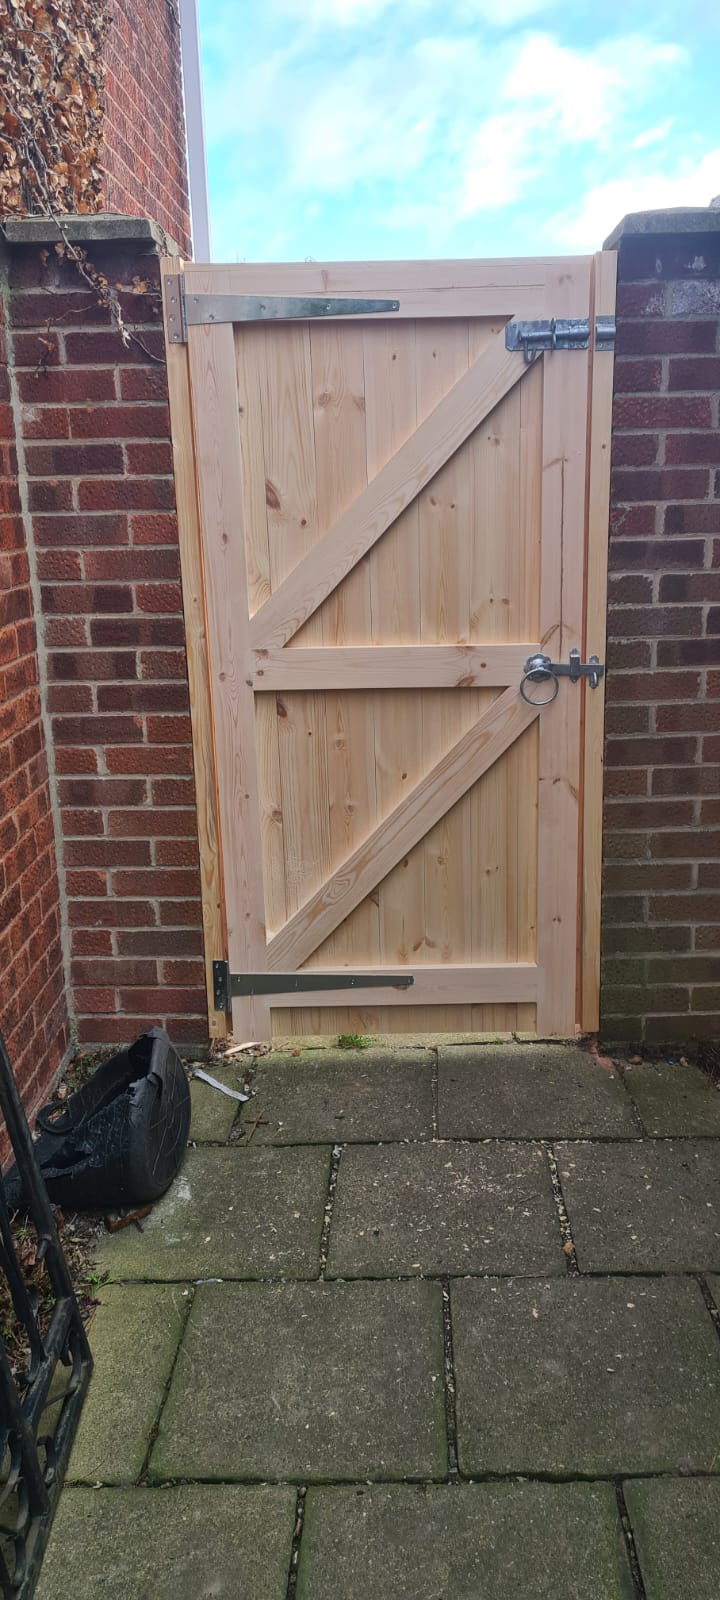
A wooden gate is generally fitted using hinges and a catch, much like a small internal door. This makes the quality of the fixing points especially important. Handmade timber gates with proper joinery are built for regular use, but even the best-made gate needs suitable ironmongery and secure fixing to perform as intended.
Check what you are fixing into
Do not assume every wall, post or banister can take the same fixing. A solid brick or block wall provides a strong base when paired with the correct wall plugs and screws. Timber newel posts are often suitable too, provided the timber is sound and substantial enough to take the load.
Plasterboard needs more thought. A screw fixed only into plasterboard is unlikely to withstand a child leaning, pulling or shaking the gate. Locate a timber stud behind the board where possible. If there is no stud in the correct position, fit a properly sized timber mounting board across several studs or use a purpose-made fixing solution designed for the wall construction.
Stair balusters and handrails are not always strong enough or shaped appropriately for direct fitting. Avoid drilling into a thin spindle or trying to clamp a gate to an awkwardly shaped rail. A secure timber post or mounting board can create the straight, solid surface required. It may not be the quickest route, but it is far better than compromising the fit.
What you will need
Before starting, lay out the gate, hinges, latch and fixings, then check that everything is present. Most installations require the following:
A tape measure, pencil and spirit level
A drill with suitable drill bits
Screws and wall plugs suited to the surface
A screwdriver or drill driver
Timber packers or a mounting board if the wall is uneven
Use fixings of good quality and the correct length. Screws need enough depth to hold securely in solid timber or masonry, without passing through into an area where pipes, wiring or other services may be present. If you are unsure what lies behind a wall, check before drilling.
How to fit a stair gate step by step
Start by holding the gate in the opening at its intended height. It should sit clear of the floor so it can swing freely, while remaining low enough that a child cannot easily pass underneath. A small, consistent gap is normally preferable to a gate dragging over carpet or catching on uneven flooring.
Mark the hinge positions on the fixed side first. Use a spirit level to make sure the gate is upright, then mark both hinge plates carefully. If you are fitting to a wall, drill the pilot holes and insert appropriate plugs before securing the hinges. If fixing into timber, pilot holes help prevent splitting and make it easier to drive the screws straight.
Fit the gate to the hinges, but do not fully tighten every screw until you have checked its movement. Swing it open and closed several times. It should move freely without rubbing the floor, wall or skirting. If it binds, adjust the hinges or use packers behind the hinge plate to bring the gate into line.
Next, position the latch or catch on the closing side. Hold the gate closed and mark where the latch meets the receiving bracket. The latch should engage positively without needing to lift, force or twist the gate. Fit the bracket, test the catch, then tighten all screws once you are satisfied that the gate is level and operating correctly.
A gate can appear square while still having an uneven gap around it, especially in an older property. Focus on secure operation rather than chasing perfectly identical gaps on walls that are not straight. Where needed, a carefully fitted timber packing piece can make the installation both stronger and tidier.
Common fitting mistakes to avoid
The most frequent mistake is fitting to a weak surface simply because it is convenient. A gate should be secured to a proper structural point, not a decorative trim, loose banister component or thin plasterboard section.
Another common problem is ignoring skirting boards. If one side of the gate bracket sits proud of the wall because of skirting, while the other side is fixed flat, the gate can twist as it closes. Remove or notch a small section of skirting only if you are confident doing so neatly, or build out the other fixing point with a matching timber packer.
Do not position a top-of-stairs gate too close to the first step. Leave enough landing space for an adult to stand safely while opening and closing it. The gate should also be checked after fitting for gaps that a child could squeeze through, sharp screw ends, loose fittings and catches that can be operated too easily.
Check the gate regularly after installation
Fitting is not a one-time job. Timber naturally responds to changes in temperature and humidity, and houses move slightly over time. Check hinges, screws and the latch periodically, particularly during the first few weeks of use. Retighten fixings if needed, but investigate the cause if a screw repeatedly works loose.
A painted, primed or oiled wooden stair gate should also be maintained in line with its finish. Keeping the timber protected makes cleaning easier and helps it continue looking at home with the rest of the staircase. At M & D Woodcraft, we build made-to-order wooden gates for homeowners who need a stronger, better-fitting alternative to one-size-fits-all options.
A well-fitted stair gate should feel unremarkable in daily life: easy for adults to use, secure when closed and solid every time it is pushed. Taking care over the measurements, fixing surface and latch alignment is what gives a family that confidence.


Comments